Some Cars are Old
Recently, I bought a very used car in the hopes of modifying it to use a parallel-hybrid drivetrain. I’d like to cut the driveshaft and slot an electric motor inline with it, and that will probably be the subject of future posts if I can find a garage willing to do most of the heavy lifting and cutting.
But in the meantime, what sort of car do you get if you’re thinking of cutting its driveshaft in half? A cheap one, of course – and my choices were further limited by a few basic requirements:
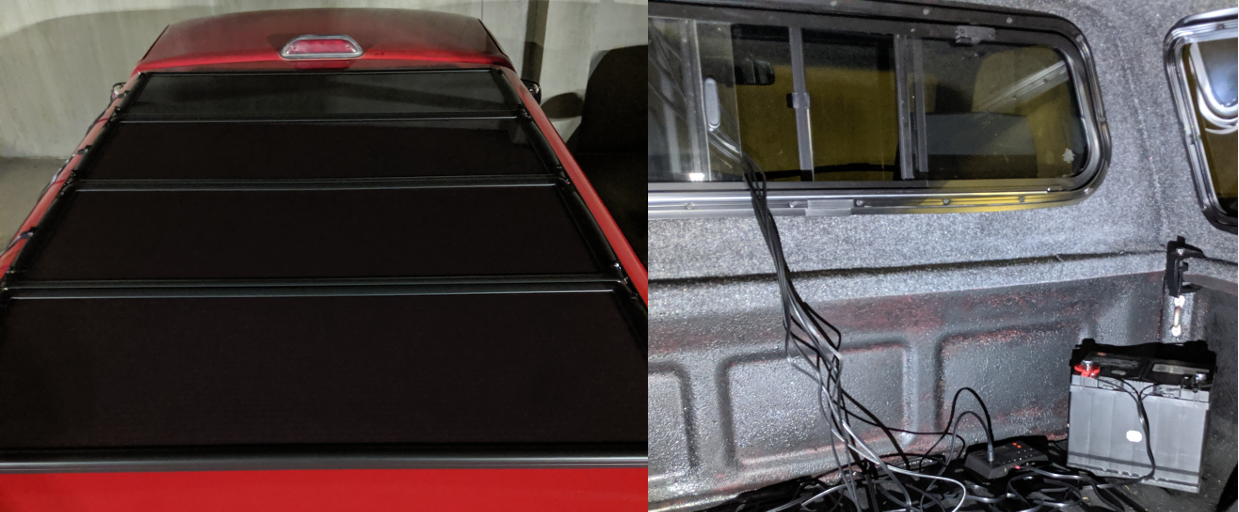
- The car should actually be a small pickup truck; the bed is an ideal place to put the heavy batteries, they tend to have a lot of ground clearance for fitting a bulky motor underneath the chassis which means little or no changes to the bodywork, and passenger space is not a consideration in this build.
- It should be rear-wheel drive. Since I am planning to add a motor between the transmission and the differential, there needs to be enough space along the driveshaft to fit the motor. That means either rear-wheel drive with the engine in the front, or front-wheel drive with the engine in the back. And I don’t know of any rear-engine pickup trucks.
- It should have an automatic transmission. This kind of simple conversion leaves you with two acceleration pedals, and I don’t have enough feet to use four pedals at once.
So I wound up with a cheap-and-cheerful 1994 Toyota Pickup Truck. It doesn’t actually have a model name; in North America, the Hilux brand was renamed to “Truck” in the 1970s before eventually being replaced with the Tacoma. So this is not a luxury vehicle. It has roll-up windows, it does not have ABS, it came with a broken speedometer, and more importantly its speakers had disintegrated in the decades since 1994.
Yikes.
That’s no good, and it sounded like the buzzing of a thousand wasps. Plus, replacing your speakers seems like a pretty easy first project if you want to learn about a car. You only have to remove a few interior panels, and your sound system is a safe thing to break compared to say, your brakes. So let’s get started! These specific instructions may be for a 1994 Toyota pickup, but I’ll bet the process looks similar for the front speakers of other cars.
Preparation
When you realize that your speakers are broken, one of the first things you should do is get some new speakers. It turns out that they come in several different sizes though, and you’ll need to get the right size for your vehicle. If you’re buying new ones, most car stereo stores will probably be happy to look up what sizes will fit your make/model. Or, it looks like a company called Sonic Electronix has a glossary that you can check. For a 1994 Toyota Pickup, they recommend 4″ speakers in the front and 6.75″ speakers in the side panels. But the truck I picked up does not have a rear seat, so there are no speakers in the side panels and I only needed a pair of 4″ ones.
I picked up some fairly cheap ones since I didn’t want to spend too much, I’m not exactly an audiophile, and I’m not sure how much power this truck can spend on audio since the stock speakers were only 15W each. And as long as the new ones were intact, they’d be an improvement.
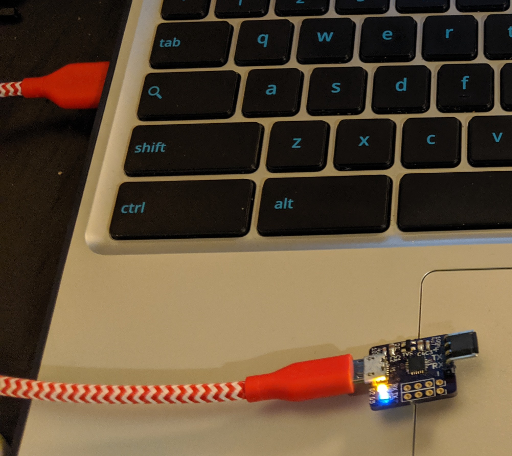
With a working pair of speakers in hand, it’s time to remove the broken ones and swap in the new ones. Our first stop will be the vehicle’s service manual – with any luck, your car will have some sort of repair, maintenance, or service manual available online which will have a lot more information than the owner’s manual in your glove box. There are a couple of resources available for an early ’90s Toyota Pickup, such as this helpful site. There are also FTP mirrors that you can scrape for offline reference, if you are so inclined:
wget -r --no-parent -A ".pdf" http://htftp.offroadsz.com/marinhaker/programi/toyota/
So a big thank you to Marin for that.
Replacing the Old Speakers
Looking at the ‘Body (Mechanical) / Instrumentation’ section, we can see that removing the panels is as simple as removing a few screws and bolts. I wound up using a medium-sized philips-head screwdriver and a 10mm hex driver:
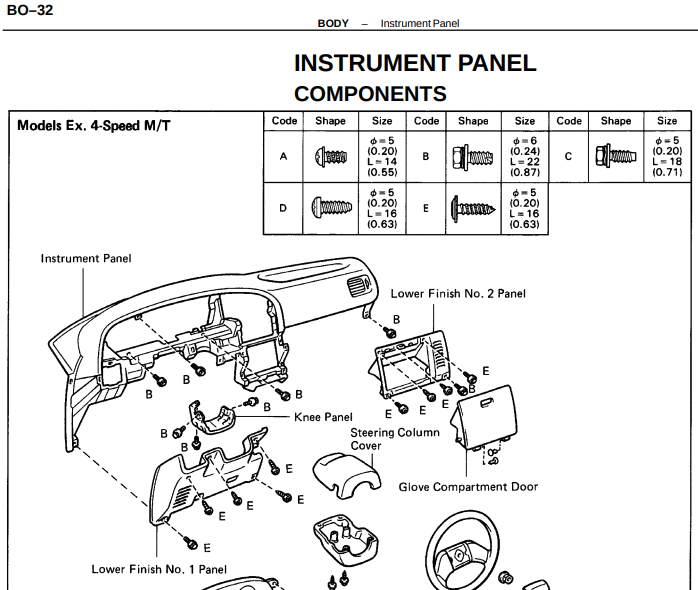
The panels with speakers behind them are the ‘Lower Finish Panels’ No. 1 and 2.
Passenger Side
Starting on the passenger side, there are 4 screws and 1 bolt holding the glove box onto the dashboard, and the speaker is located right next to the glove box. After unscrewing it, the whole panel should pop out after a bit of finagling. You might have to reach behind the plastic lips and un-hook some corners. Or who knows, your vehicle might have its panels assembled in a completely different way. But here, the assembly comes out fairly easily and its only other connection to the rest of the car is the speaker’s wiring.
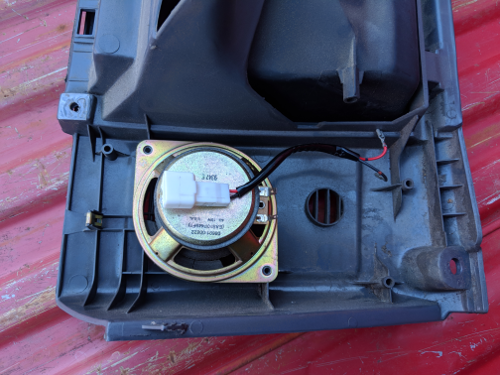
The glove box, outside of its natural habitat
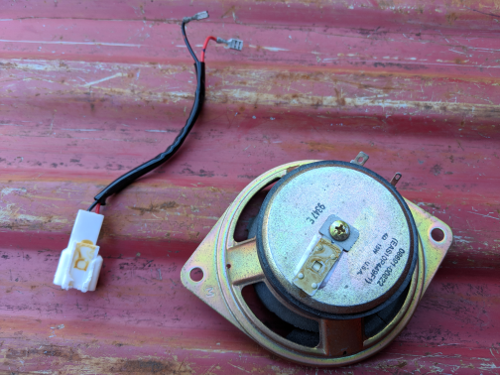
The audio connectors in this car are simple clip-on plugs. And as luck would have it, they also connect to the speakers with the same ‘spade’ terminals that my new speakers used. I guess that’s probably standardized, if the plugs haven’t changed in ~25 years. This is hard to mess up; one terminal/plug pair is wider than the other, so there’s only one way that the wiring will easily fit.
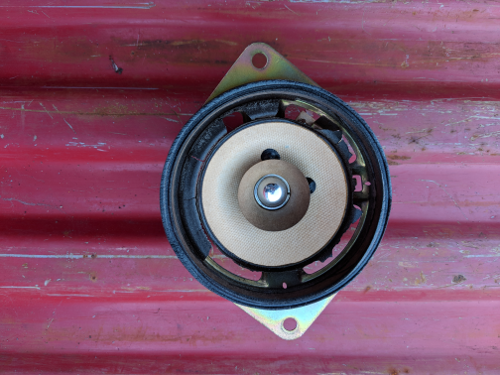
Once you unscrew the old speaker to remove it from the panel, it’s worth salvaging the connector to avoid soldering or splicing wires together. Unfortunately, these speakers were assembled in a way that made it almost impossible to cleanly remove the connectors; they were glued together such that each connector covered the screw which held it in place. If you run into that sort of problem, carefully applying a crowbar worked for me.
Close enough.
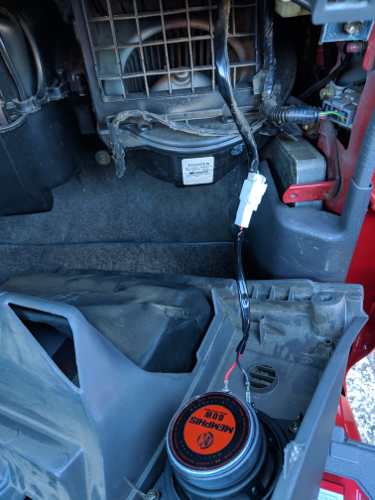
If your speakers are dead like mine were, they’re basically junk at this point. We ended up chiseling the big magnets off and sanding them down to make large magnetic part trays, but you could just toss them in the recycling bin too. Next, just screw the new speakers in place and connect them to your stereo with the salvaged plug.
The old connector plugs right onto the new speaker’s spade terminals.
Before you screw the panel back on, check that the speaker sounds okay by turning your stereo on and listening to it.
Driver Side
The process for replacing the driver-side speaker is pretty much the same – you just have to remove a different panel. Looking back to the service manual, the driver-side panel also has 4 screws and 1 bolt holding it on. In my case, it was also necessary to unscrew the lever which opens the hood, which is shown on a different page:
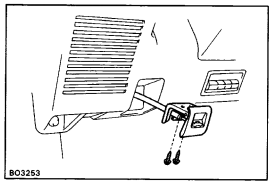
Don’t forget to remove the hood catch, if it’s attached to the panel you’re removing.
The plastic housing around the keyhole also popped off when I pulled the panel out, but it pops back in too. Once the driver-side panel is removed, it’s the same process of removing the old speaker, salvaging its connector, screwing the new speaker in, and re-connecting it with the old plug. Test the speaker before re-attaching the panel, and don’t forget to re-attach the hood catch lever.
Conclusions
That’s all there is to it – I guess that speakers are probably one of the easiest thing to change on a car, especially when you’re not also replacing the stereo. And this might not have made a huge difference if the speakers weren’t already shot – there are still only two small speakers connected to a ’90s radio with a cassette player. Still, it’s a fun and simple way to learn a little more about your car, and you’re not very likely to break anything expensive compared to other modifications that you might want to make.